O que você está buscando?


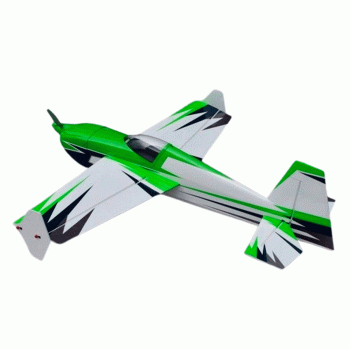
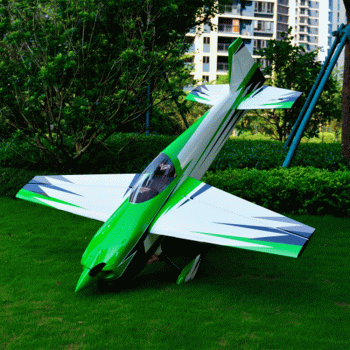
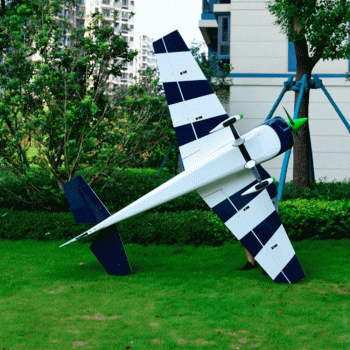
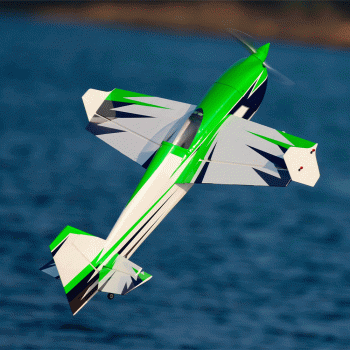
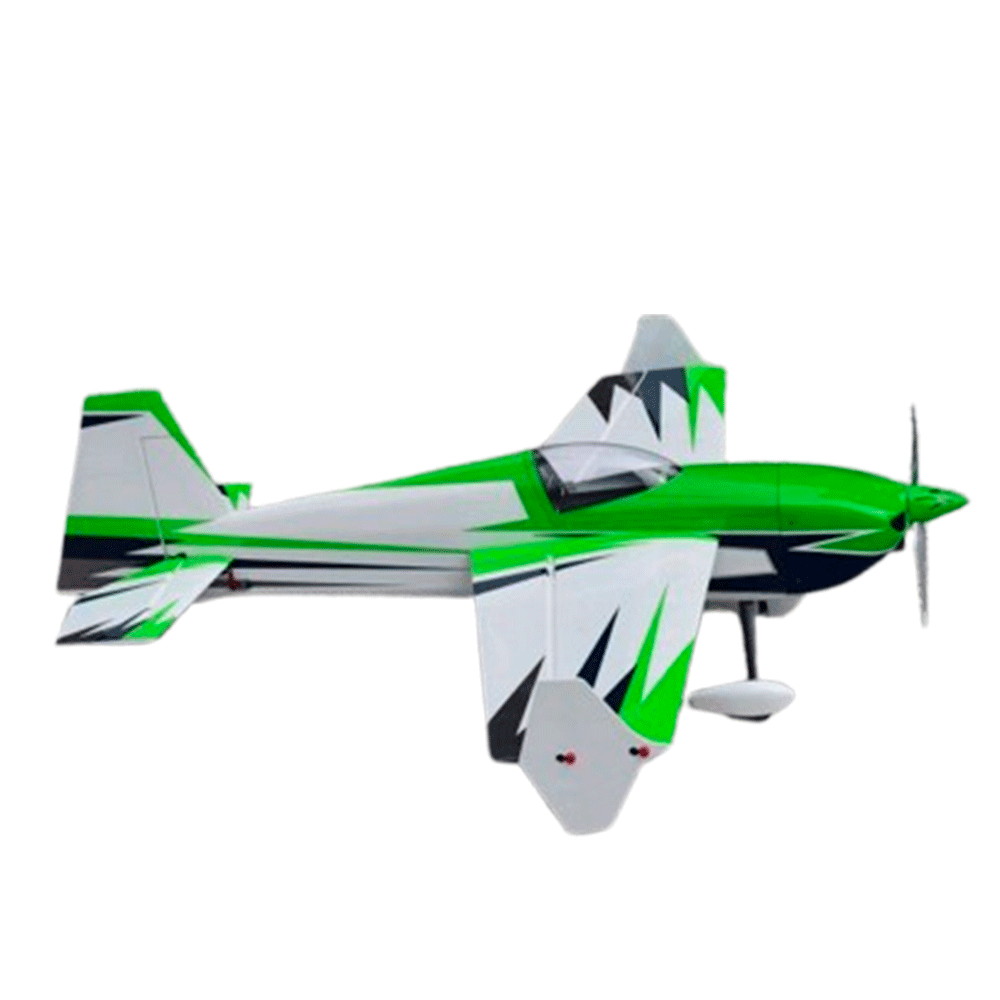
AVIAO SKYWING SLICK360 48" V2 C 1.2M PNP WHITE/GREEN/BLUE

  • Código: 414715
  • Marca: SKYWING
  • Estoque: Disponível
  • $649,99

Compartilhar

Não fazemos entregas fora do paraguai
Preços informados são em Dólares americanos, não incluem IVA e podem variar sem prévio aviso.


SW - 48" Slick 360 V2 - PNP (Plug and Play Version)


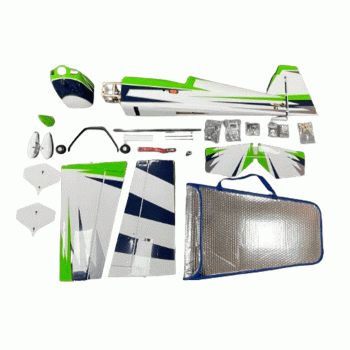
Leading the way with the industry's first PREMIUM Plug and Play.  Assembly usually takes less time than unwrapping.  High Quality motor/esc/prop/spinner/servos/arms/extensions ALL PREINSTALLED, TESTED AND PROGRAMMED FROM THE FACTORY.  Rigorously tested for the best results.  After an easy assembly just install your receiver, battery, a quick throttle calibration and you're ready to go!


- Advanced construction for today's demanding pilots

- Factory assembled detailed canopy interior

- Pre-baffled cowling for maximum motor cooling

- Incredible value with carbon fiber wing tube, landing gear and tailwheel assembly.

- Complimentary wing bag included

- Featuring Skywing's PATENTED rapid assembly wing design and easy servo connections


Specs:

Wingspan: 48 in.

Length: 49.5 in.

Weight: 3-3.5lb depending on battery

Neutral center of gravity - center of tube (marked inside)

Motor - Skywing/Dualsky XM3548-530KV

ESC - Skywing 52A ESC, BEC preprogrammed at 7.4V

Servos - Skywing 030HV servos x 4

Propeller - 13x6.5 wood and poly (both included)

Spinner - 45mm


Recommended High Rate Throws

Ailerons - 38 deg up, 37 deg down

Elevator - 50-55 degrees up and down

Rudder - 50-55 degrees each direction


Requires

Full range - 5+ channel transimetter

Full range - 5+ channel receiver

6s 1800-2200mah LiPo battery

basic hand tools and adhesives


Basic Assembly:

1. Carefully unwrap and inspect all contents, make sure you don't discard any important parts.

2. Use low temp covering iron (and covering heat gun if necessary) to ensure all covering and trim pieces are tight and secure

3. Use blue/medium thread lock to install landing gear with included bolts. Double check wheels spin freely.

4. Carefully slide elevator/stab set all the way forward.  Ensure it is seated completely before carefully gluing in place with thin CA.

5. Slide rudder hinges in place and ensure minimum gap/full throw without binding and when satisfied secure each hinge with thin CA.

6. Center the rudder and elevator servos electronically then attach servo arms as close to perpendicular to the servo case.  Minor subtrim may be necessary but when satisfied secure the center screw and pinch bolt with a drop of blue/medium thread lock.

7. Install wing tube then slide wings in place. Make sure the wing locks are UP to accept the stud at the wing root and once seated completely slide locks DOWN to secure.

9. Attach SFG's if you prefer a more stable aircraft at low speeds and high alpha.  Loosen thumb bolts at the wing tip, slide SFG over and back then tighten thumb bolts.  IT IS NOT NECESSARY TO OVERTIGHTEN THESE BOLTS

10. Ensure receiver is secure, battery is charged and secured at the correct location for the CG you prefer, install the canopy and ensure the spring latch is seated.


* It is HIGHLY recommended to use the included plug in capacitor as some radio/receiver systems are sensitive to spikes in voltage *

Escreva um comentário

Você deve acessar ou cadastrar-se para comentar.